How to Use a Log Splitter
How-To
Cutting down a tree is a lengthy process, and disposing of all the wood and debris will take more of your time if you don't have the right tools. You can use the larger pieces of the trunk as firewood, but chopping the sections into the right size pieces will take forever, and swinging an ax is tough, physical labour. That's why a log splitter is so handy when disposing of a tree.
The log splitter makes breaking apart thick, hard pieces of wood easy, with no real effort required from you. Simply load the log into the machine and let it work away.
Make sure your trunk sections are in manageable pieces before using the splitter. For more help on that process, check out our small tree removal guide or our large tree removal guide.
To find out how to safely use a log splitter, our overview will help:
Steps
Step 1 - Prepare your working area
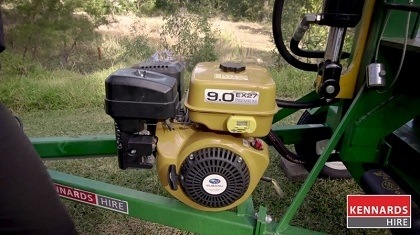
Move your log splitter into a stable position around where the trunk or large blocks of wood are. The closer the machine is to the wood you want to split, the less lifting is required. The log splitter is hydraulic-powered, with a petrol motor to help run the hydraulics.
For any tree removal project or gardening DIY using power tools, you should always wear appropriate safety gear. This includes full-length shirt and pants, safety glasses, ear protection and gloves.
With many log splitter models there is an ignition switch, a fuel tap and a choke that you need to operate in order to get the engine started. If you run out of fuel simply let the engine cool off for a few minutes before refilling the tank. This is to prevent fuel from splattering out of the hot tank.
The log splitter can come with a mechanical lift that can lift the logs up to the splitting area for you, which is much better than straining your back trying to move massive blocks of wood around! A safety catch keeps the mechanical lift level to the machine and is locked in place for transport. Before you can start splitting the logs with the machine, you need to lower this lift down to the ground.

Step 2 - Cutting your wood into the right shape
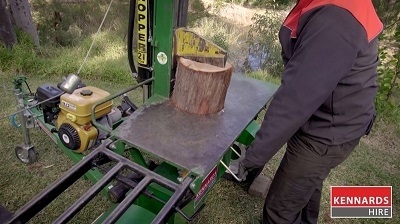
With the log splitter locked in position, you need to ensure the wood you're splitting is the right shape. It must fit under the blade on the splitting bed of the machine, and ideally have flat ends. You therefore need to make sure that when you’re cutting the trunk prior to splitting, that your cuts are as vertical as possible.

Step 3 - Splitting your logs
To operate the machine, there is a safety switch that must be controlled by two hands. If you try to only use one of the handles, nothing will happen, so there's no chance of you accidentally catching your hand under the cutting blade.
Lower the mechanical lift and roll one of your logs onto the platform (no lifting required - easy!). With both hands on the handles, lift the log until the safety catch locks and the platform stays level. From this point, you can slide the large log onto the splitting bed with ease. The same handles that control the splitting blade also control the mechanical lift.
Move the log directly under the splitting blade. If there is a strong grain in the wood, line that up with the blade. Make sure the first cut will be through the centre of the wood so you end up with two even halves.
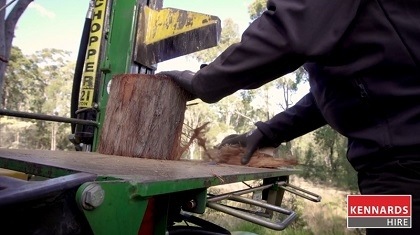
With the log in place, push down on the handles and wait until the wood splits completely. The blade will go all the way through and stop once it hits the bed of the machine. The log splitter works by using hydraulic force to drive a wedge into the wood to split it apart. So don't only make half a split in the wood and then put your hands into the middle of the log. If you lift the blade before it completely cuts through, the split could close up and jam your fingers.
To lift the blade, pull up on the handles until the axe stops moving. You'll be left with two halves of a log that you can continue splitting in the same way until you're left with logs of a good size for your fire. You may be able to get three or four splits out of each half of the trunk.
When you have a tree removal project, you'll need the right tools. For help choosing the most suitable equipment and information about how to operate each unit, get in touch with your local Kennards Hire branch.

