How to Set Up Scaffold
How-To
We've all seen scaffolding on construction sites or being used by professional house painters. You use a scaffold when you are working for a length of time at height, and when you need to keep a number of tools and products close at hand.
According to Safe Work Australia, 86% of workplace falls involve ladders, as opposed to 14% where scaffolding is in use.
Getting hold of a scaffold is easy with Kennards Hire. Scaffolding is light, easy to use and provides a safe space for working, with inbuilt ladders and safety features to stop you and your equipment falling off.
If you’re working alone, it’s good to have the added safety features of a scaffold rather than a ladder. The guard rails stop you falling, while the toeboards prevent your foot slipping over the edge. They also stop tools rolling off, potentially injuring those below.
With a scaffold you can also keep all your tools and materials with you on the working deck, rather than having to make trips up and down a ladder.
Our hire scaffolds range from 1.5 to 4 metres tall. However, if you can fall more than 4m from any area of scaffold you'll need an accredited scaffolder to construct it.
It is possible to assemble the scaffold yourself. But you’ll find that having someone to help you makes it much easier.
In this article, we look at how to erect and dismantle a scaffold safely.
If you have any questions about our equipment or need advice on the best equipment to use, the team at your local Kennards Hire branch should be able to help you.
Steps
Step 1 - Base frames
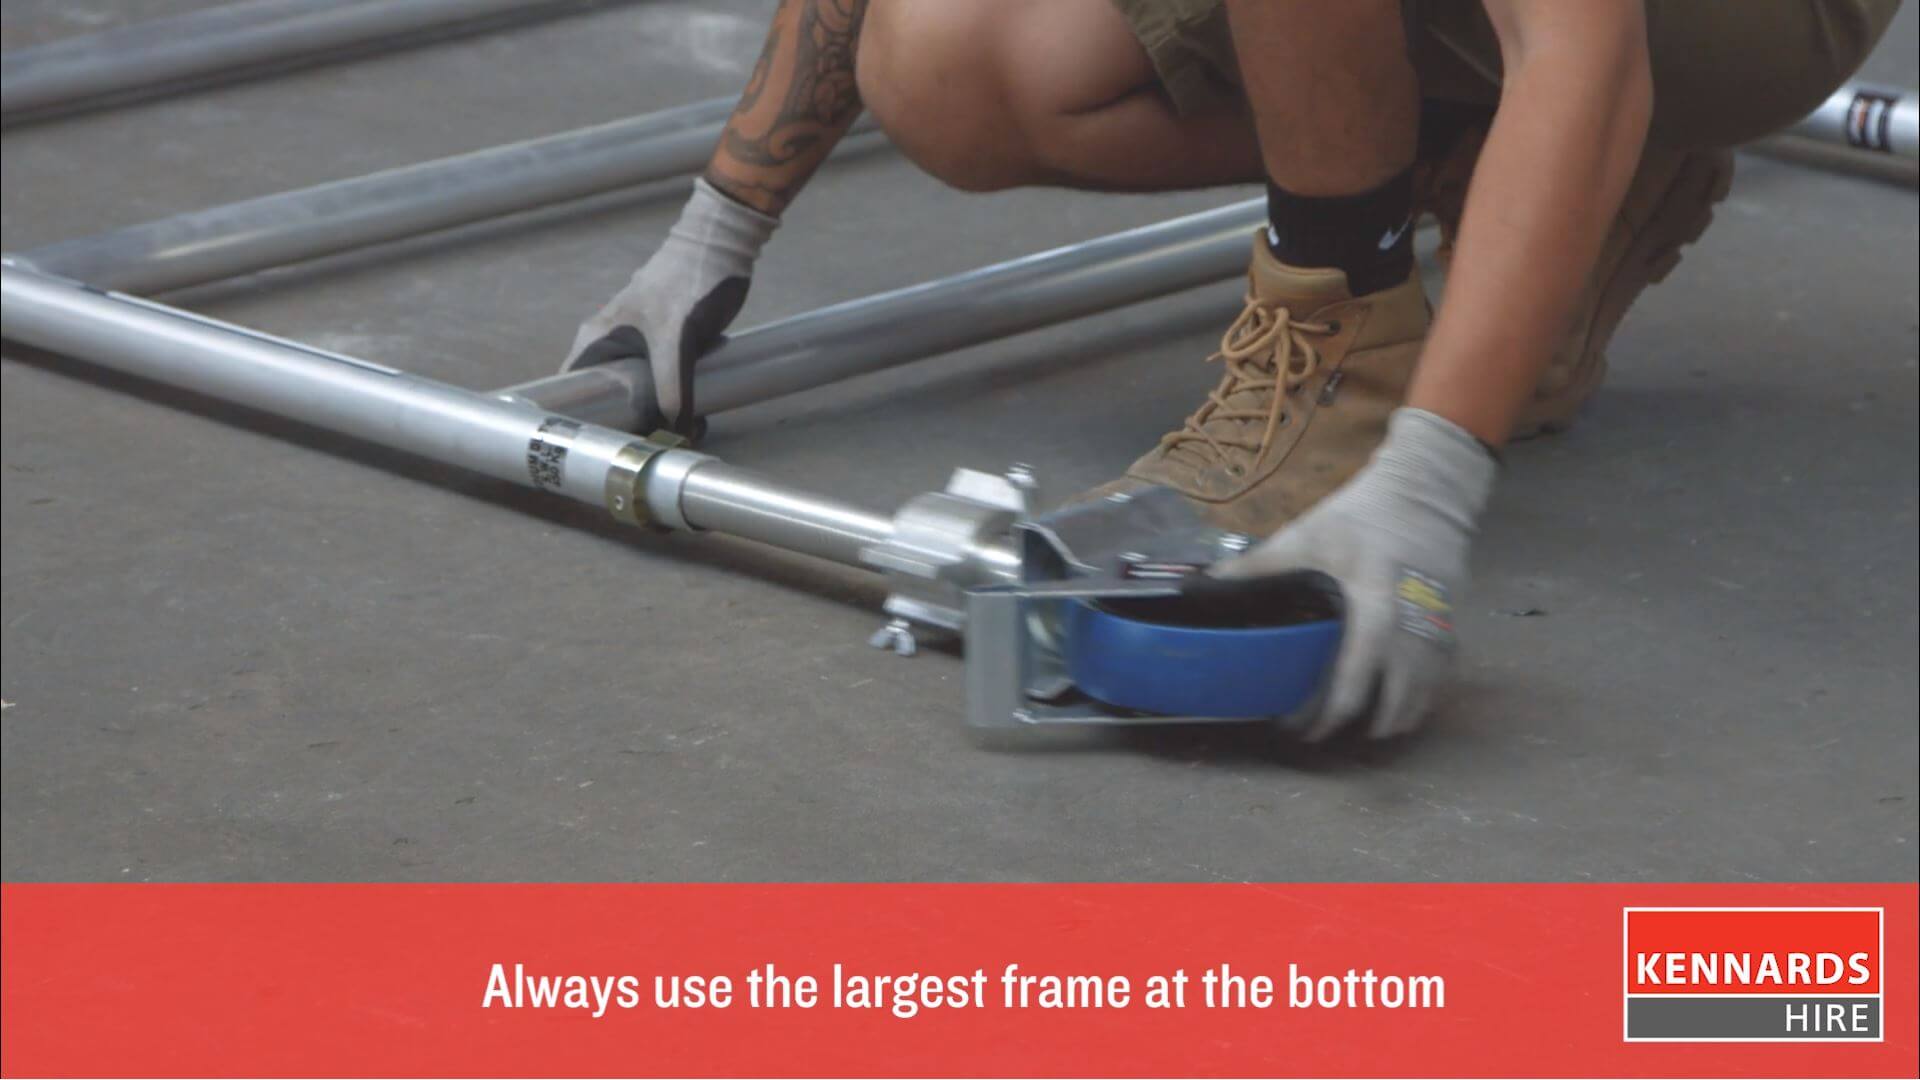
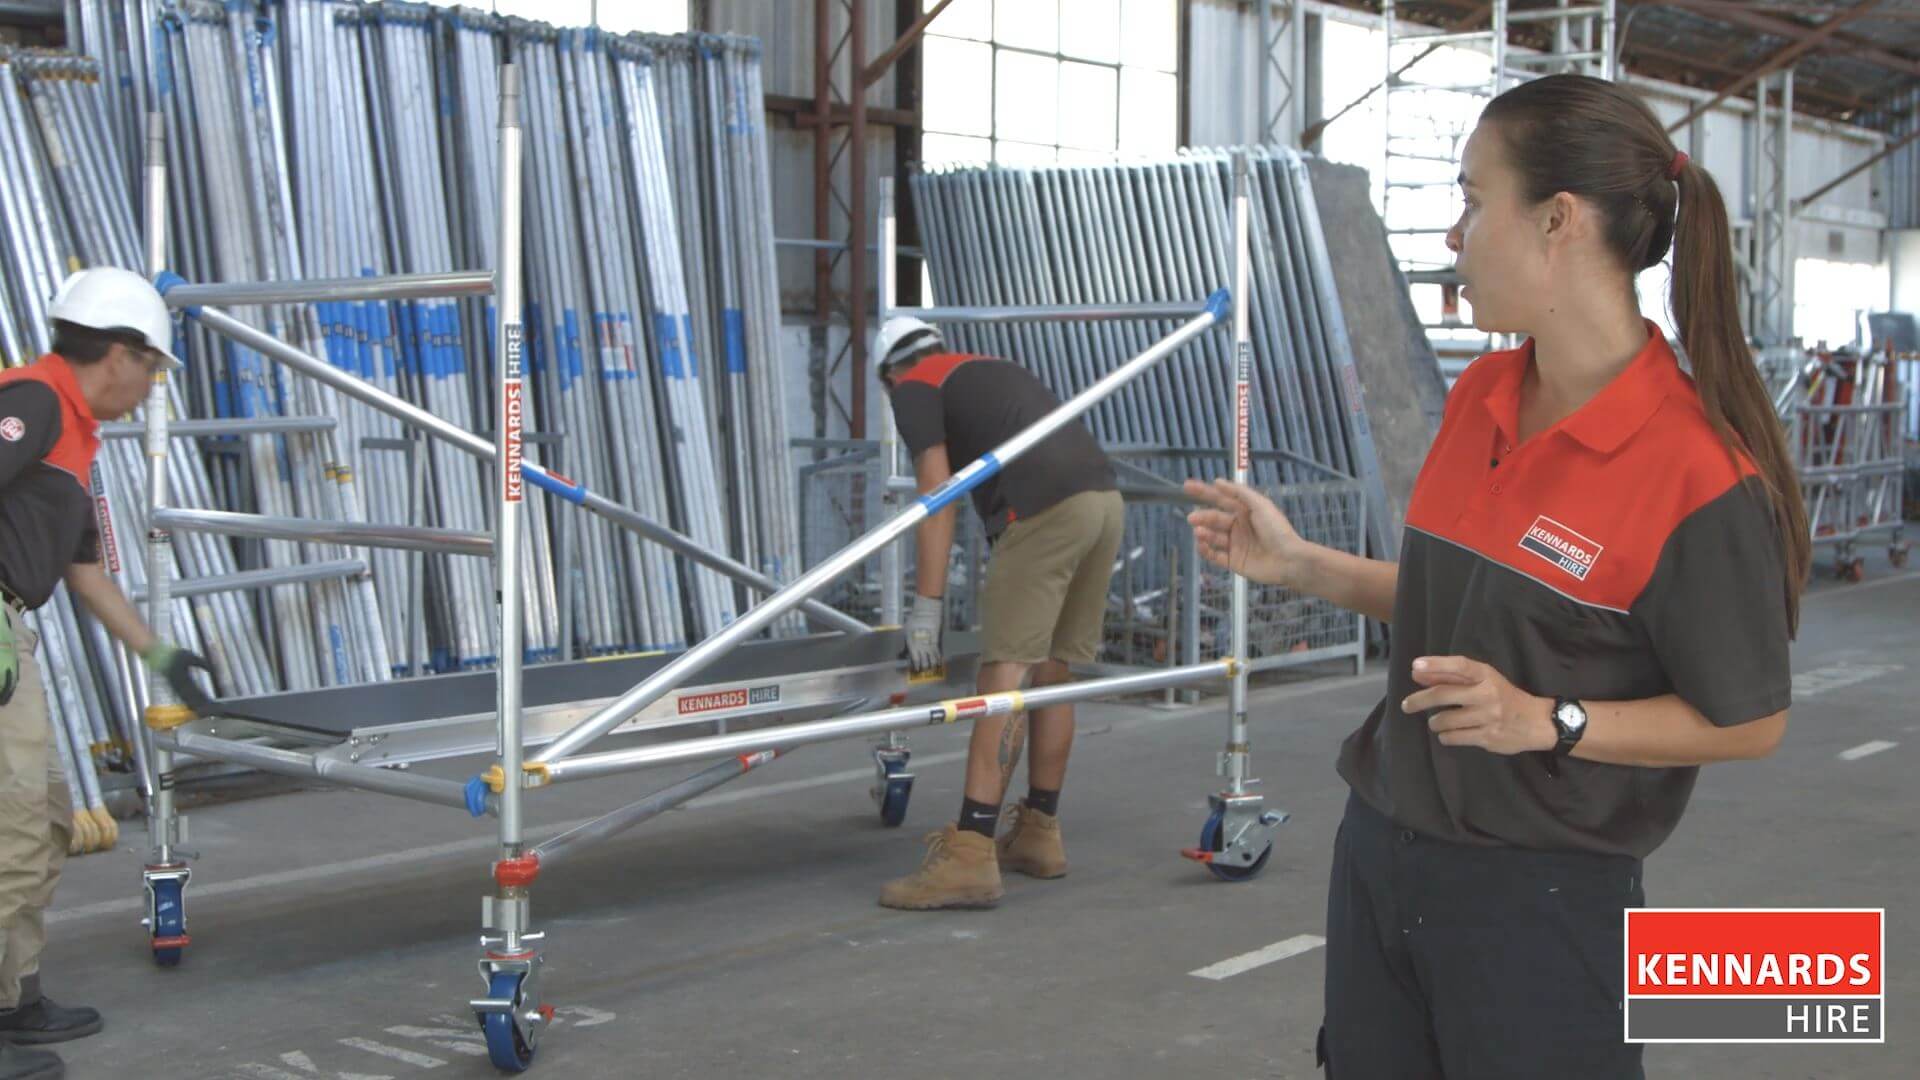
Insert castors into a base frame then secure them to a frame leg and lock the brakes. Now attach the other two castors to another base frame. Install a plan brace diagonally to opposite uprights below the first rung. The plan base will square the scaffold base.
Step 2 - Diagonal braces
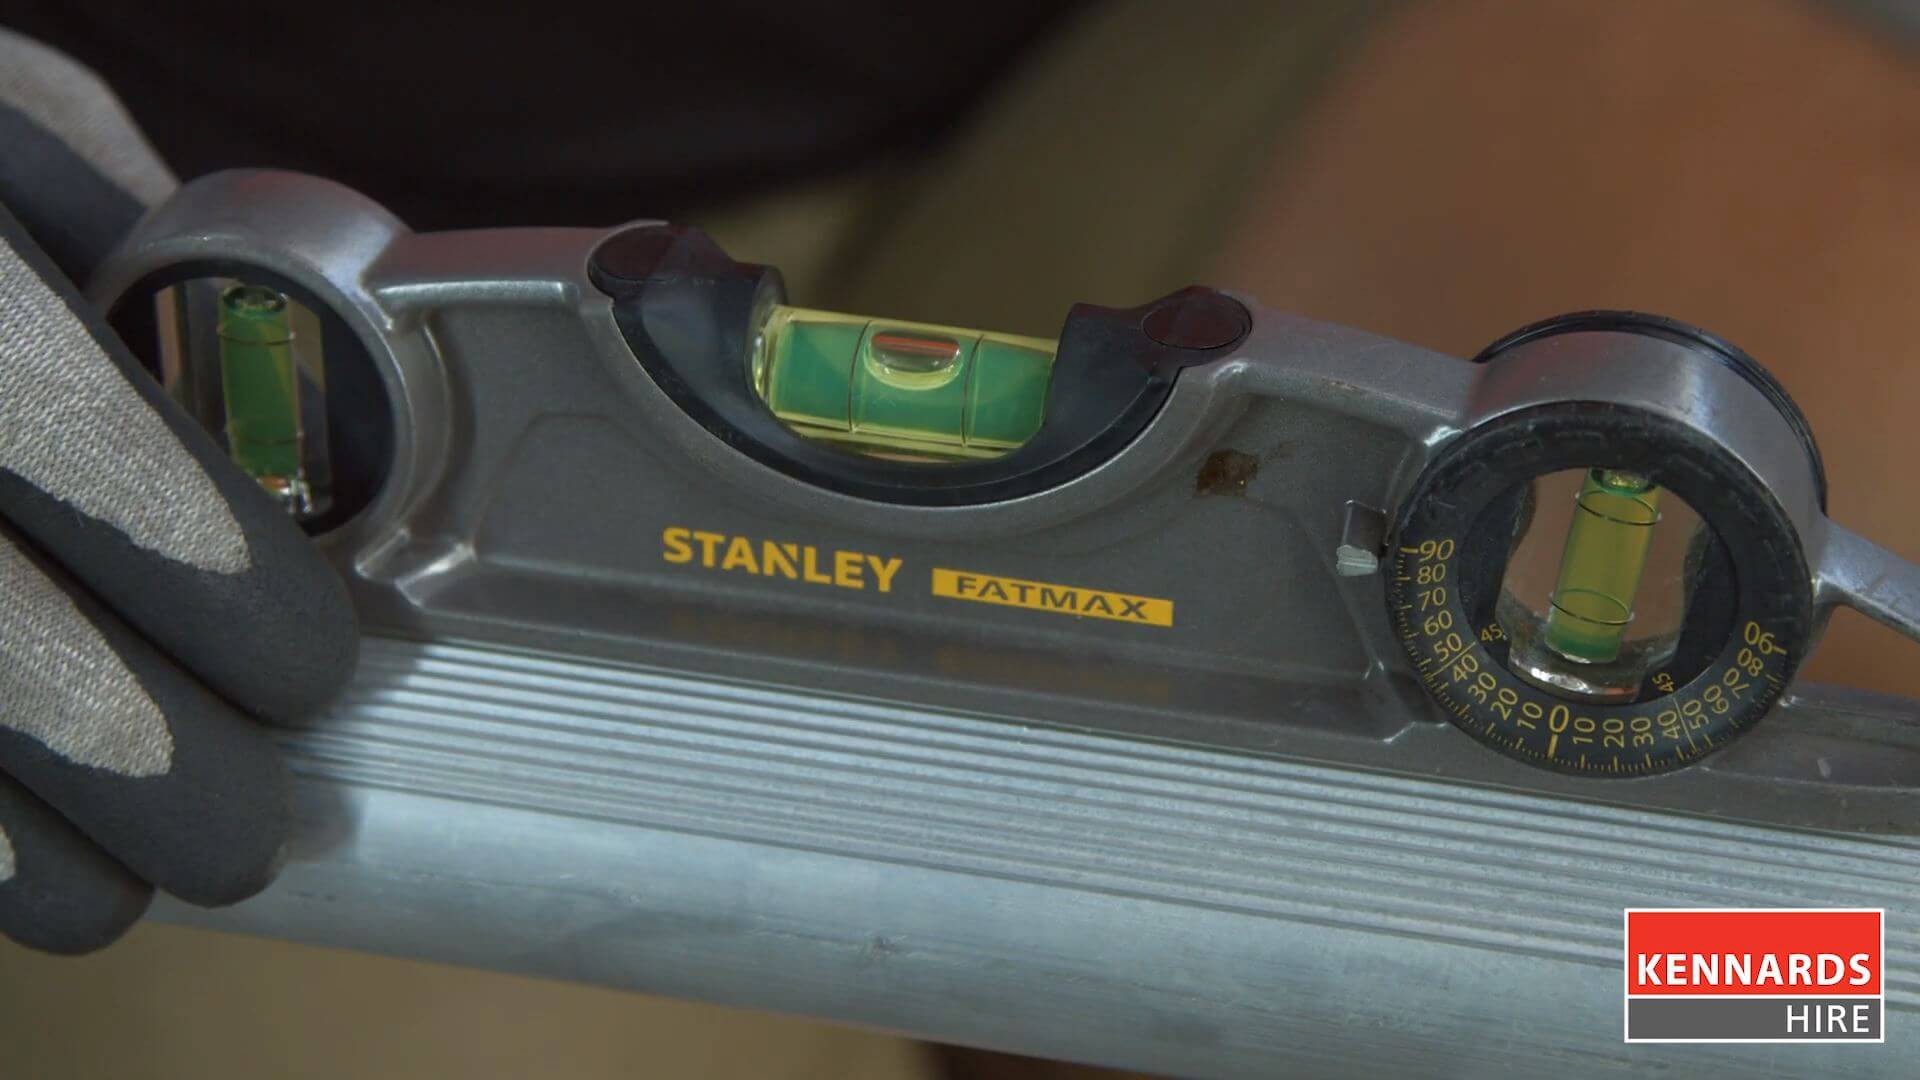
Install diagonal braces to stabilise the base frames. Check that the horizontal base of both frames is level with a spirit level. don’t forget to tighten the wing nut on all four corners. Don’t forget to tighten the wing nut on all four corners.
Step 3 - Install platform
Install a platform as a temporary platform about half a metre above the ground. It should be just off centre.
Step 4 - Install second level
Next, install a second set of base frames on top of the current base frames on both sides. Don’t forget to secure the frame clips.
Then install too diagonal braces facing the opposite direction to the existing diagonals.
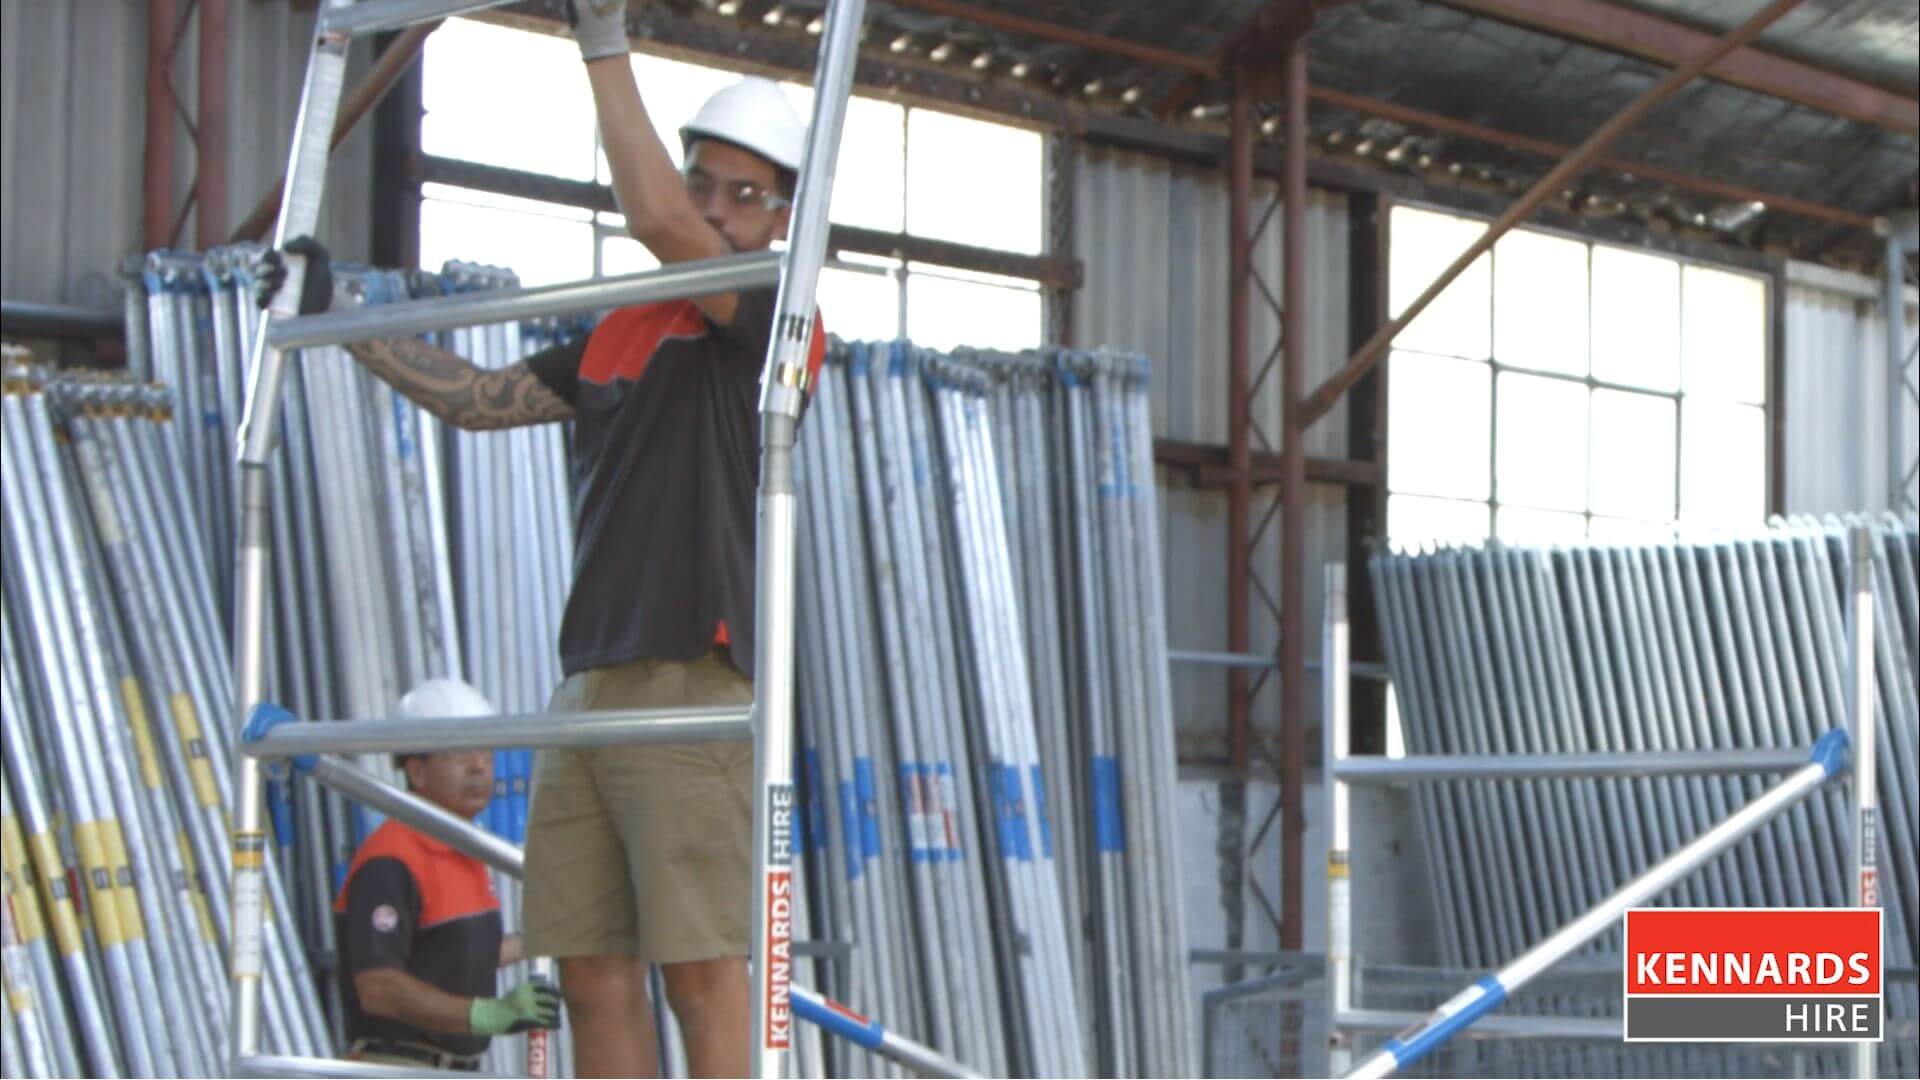
Step 5 - Move up to second level
Relocate the temporary platform from half a metre up to one metre. Install the ladder that you will use to climb up to install the next working platform. Secure it on both the top and bottom rungs of the scaffold interior side.
Now you can use the ladder to climb up to install the second set of horizontal branches.
Handy tip: Make sure you have a horizontal brace at hip level to act as fall prevention.
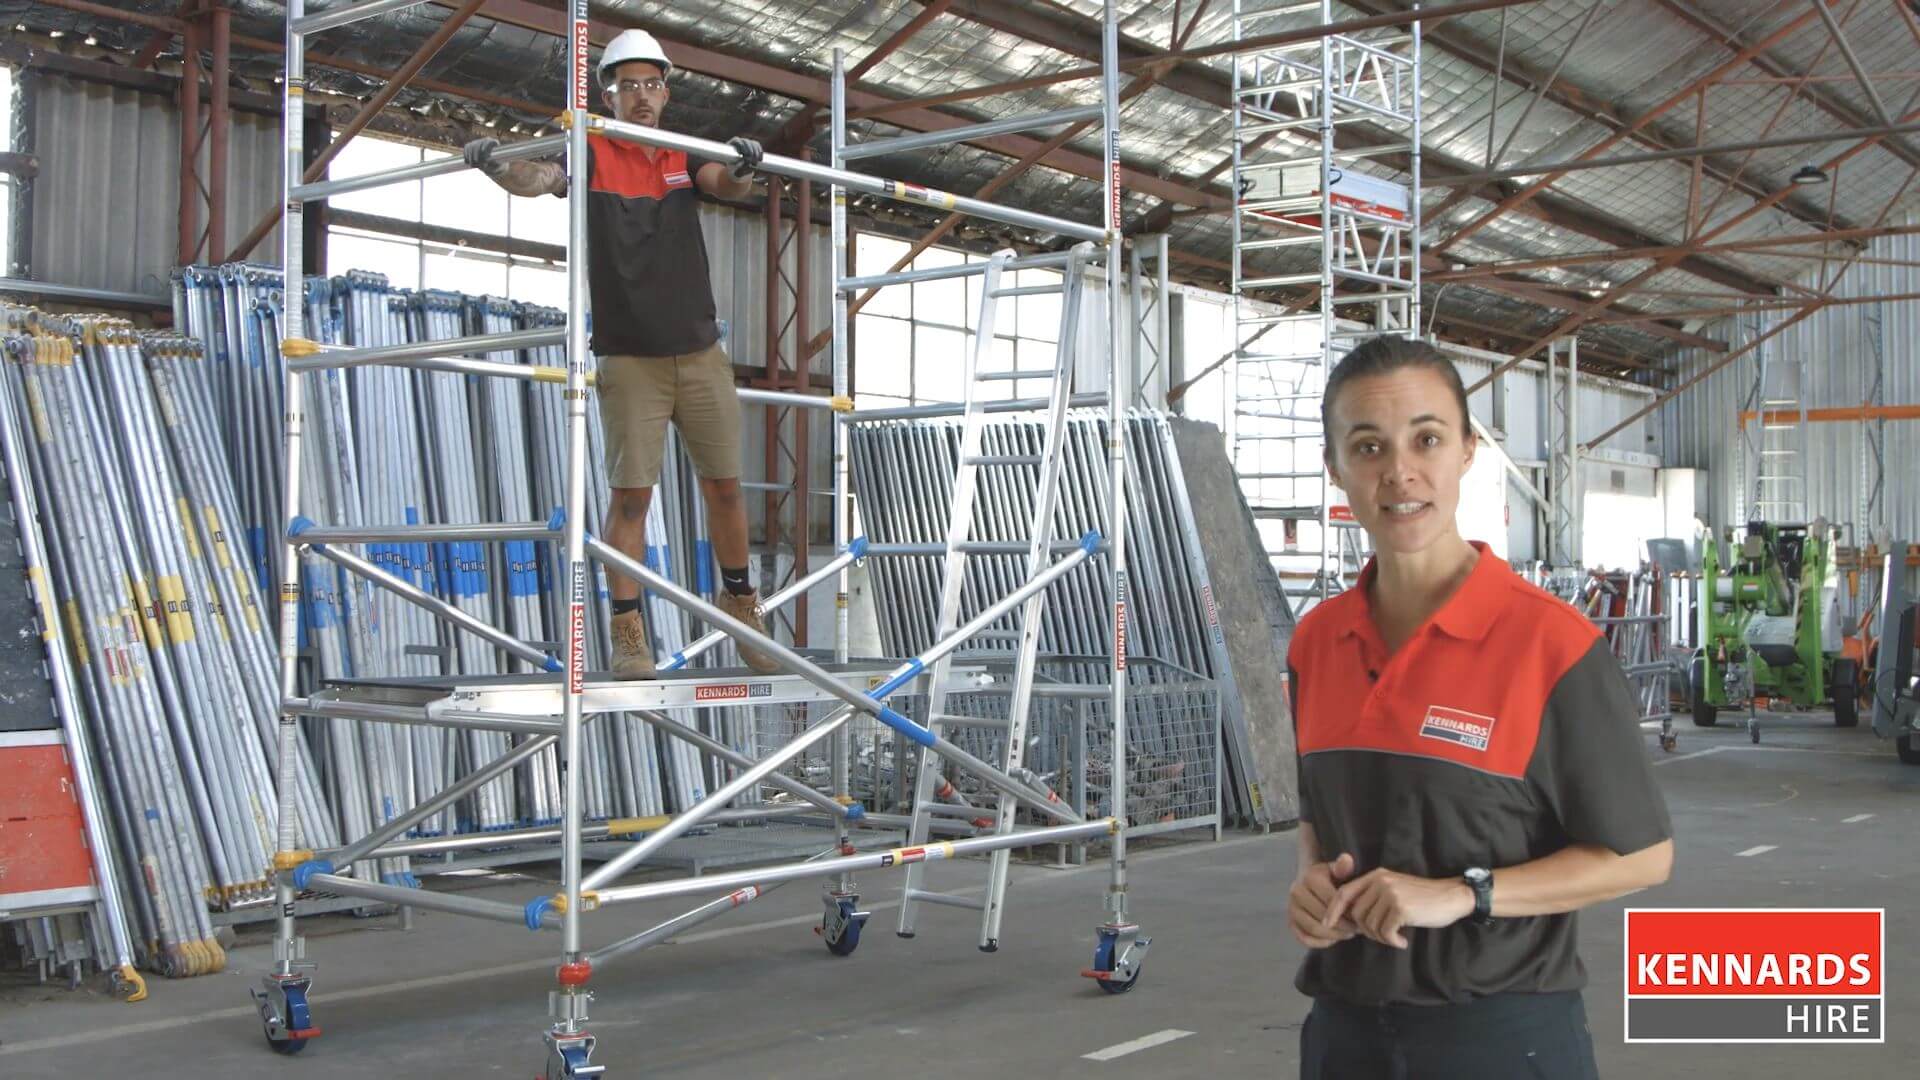
Step 6 - Deck
Next install a hatch deck at 2 metres from the ground. Remove the lower hip guard and put it above to make a mid-rail.
Now remove the temporary platform and move it up to match the working platform height.
Handy tip: When installing the hatch deck, make sure the latch is towards the centre of the scaffold so that when the hatch opens, it flips back against the scaffold perimeter.
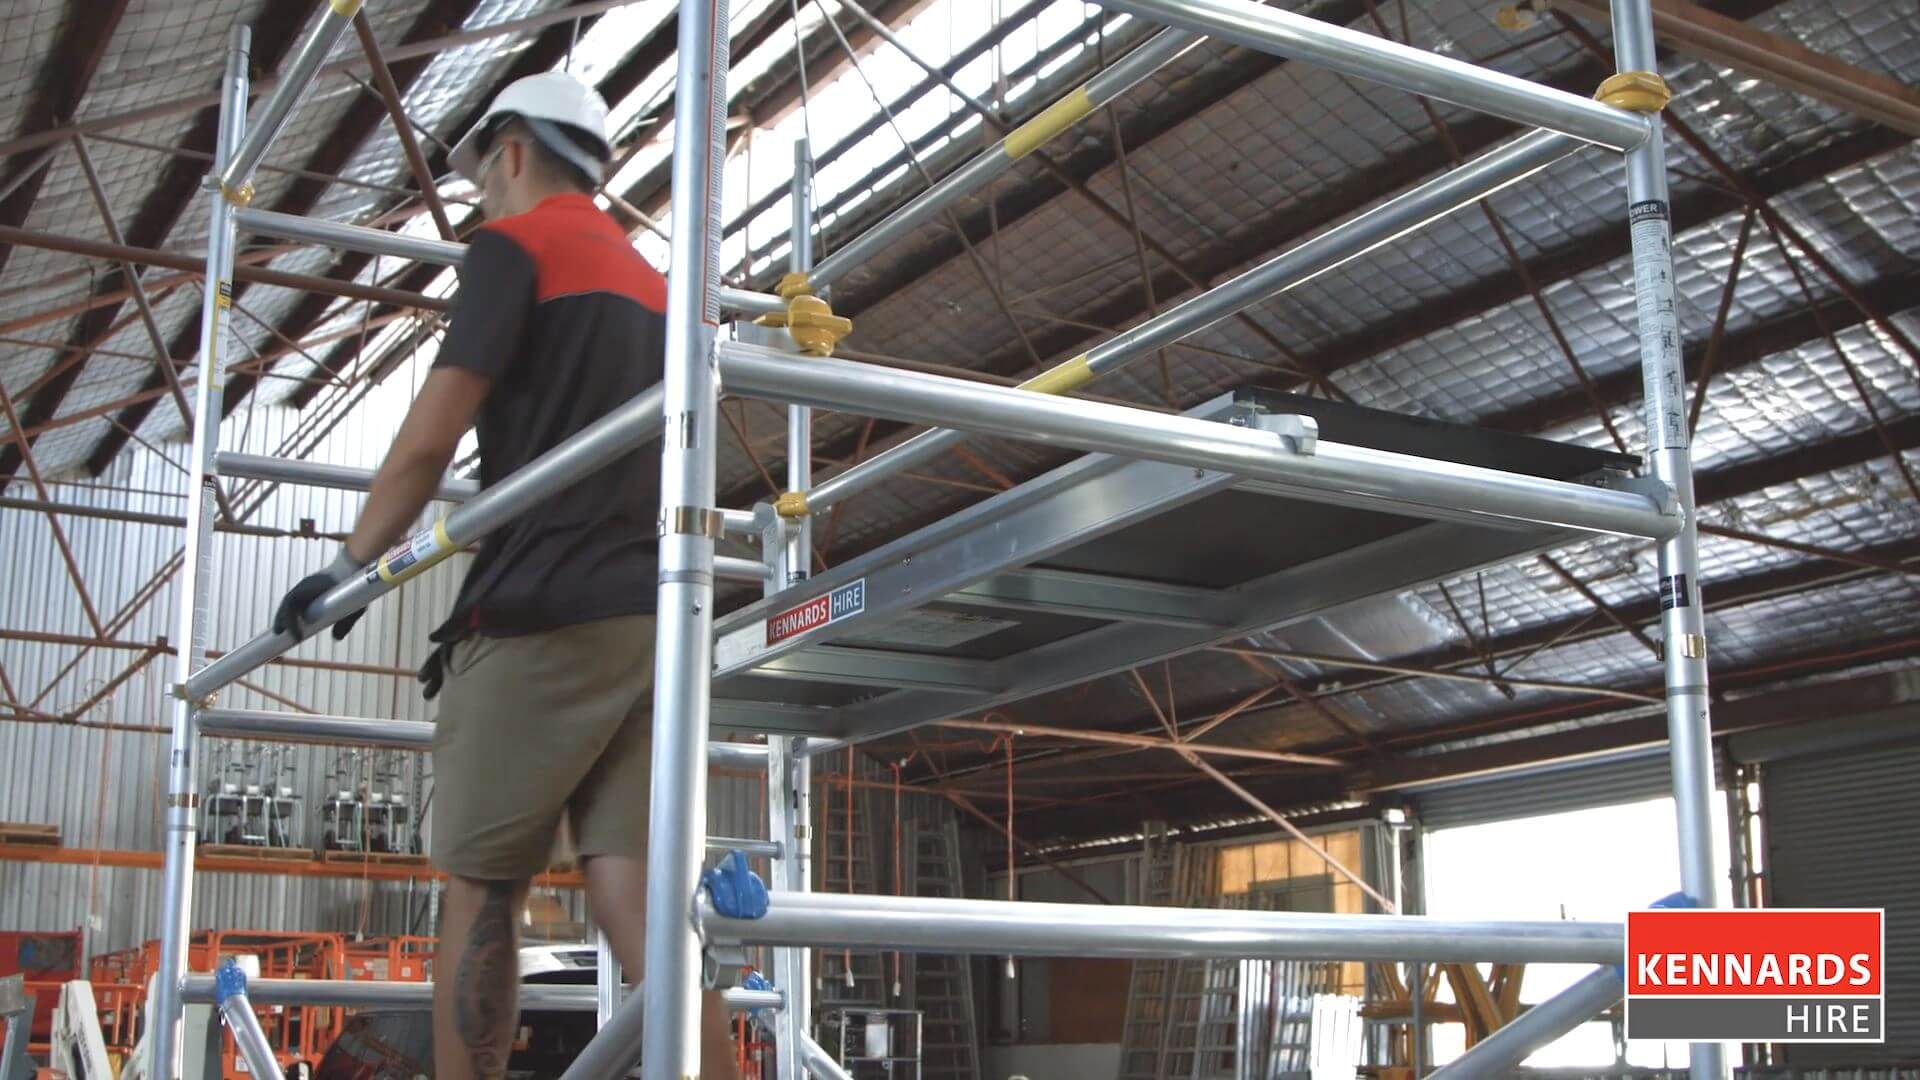
Step 7 - Toeboards
Toeboards, also known as kickboards, are raised edges on the working deck that stop your foot from slipping off. This is useful because your attention is often directed up towards the work area, away from your feet, and missteps can happen. Make sure before you climb onto the scaffold that the castor wheels are locked in position.
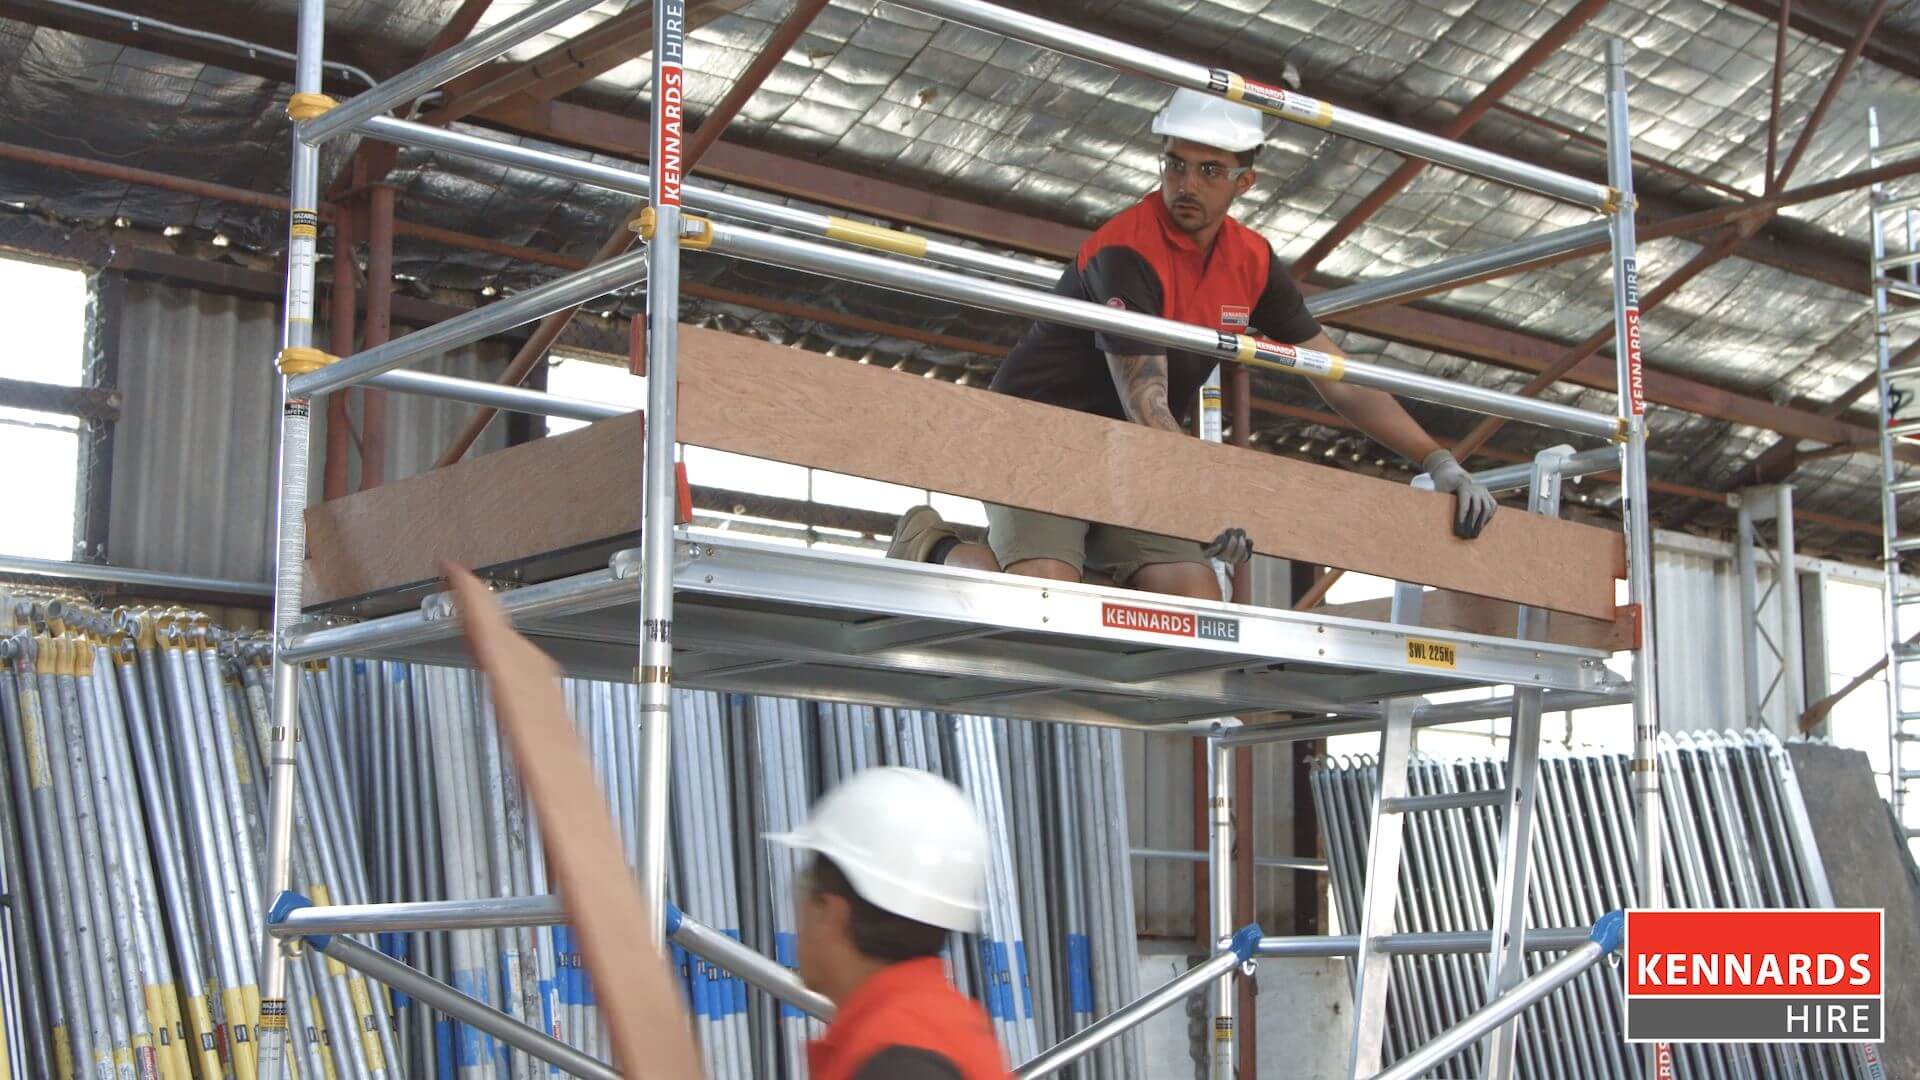
Step 8 - Continue the process
Continue adding further levels if needed. However, if the scaffold height is expected to exceed three times the least base dimension, outriggers must be fitted. Make sure the diagonals are at 45 degrees and the connecting bar to the scaffold is horizontal.
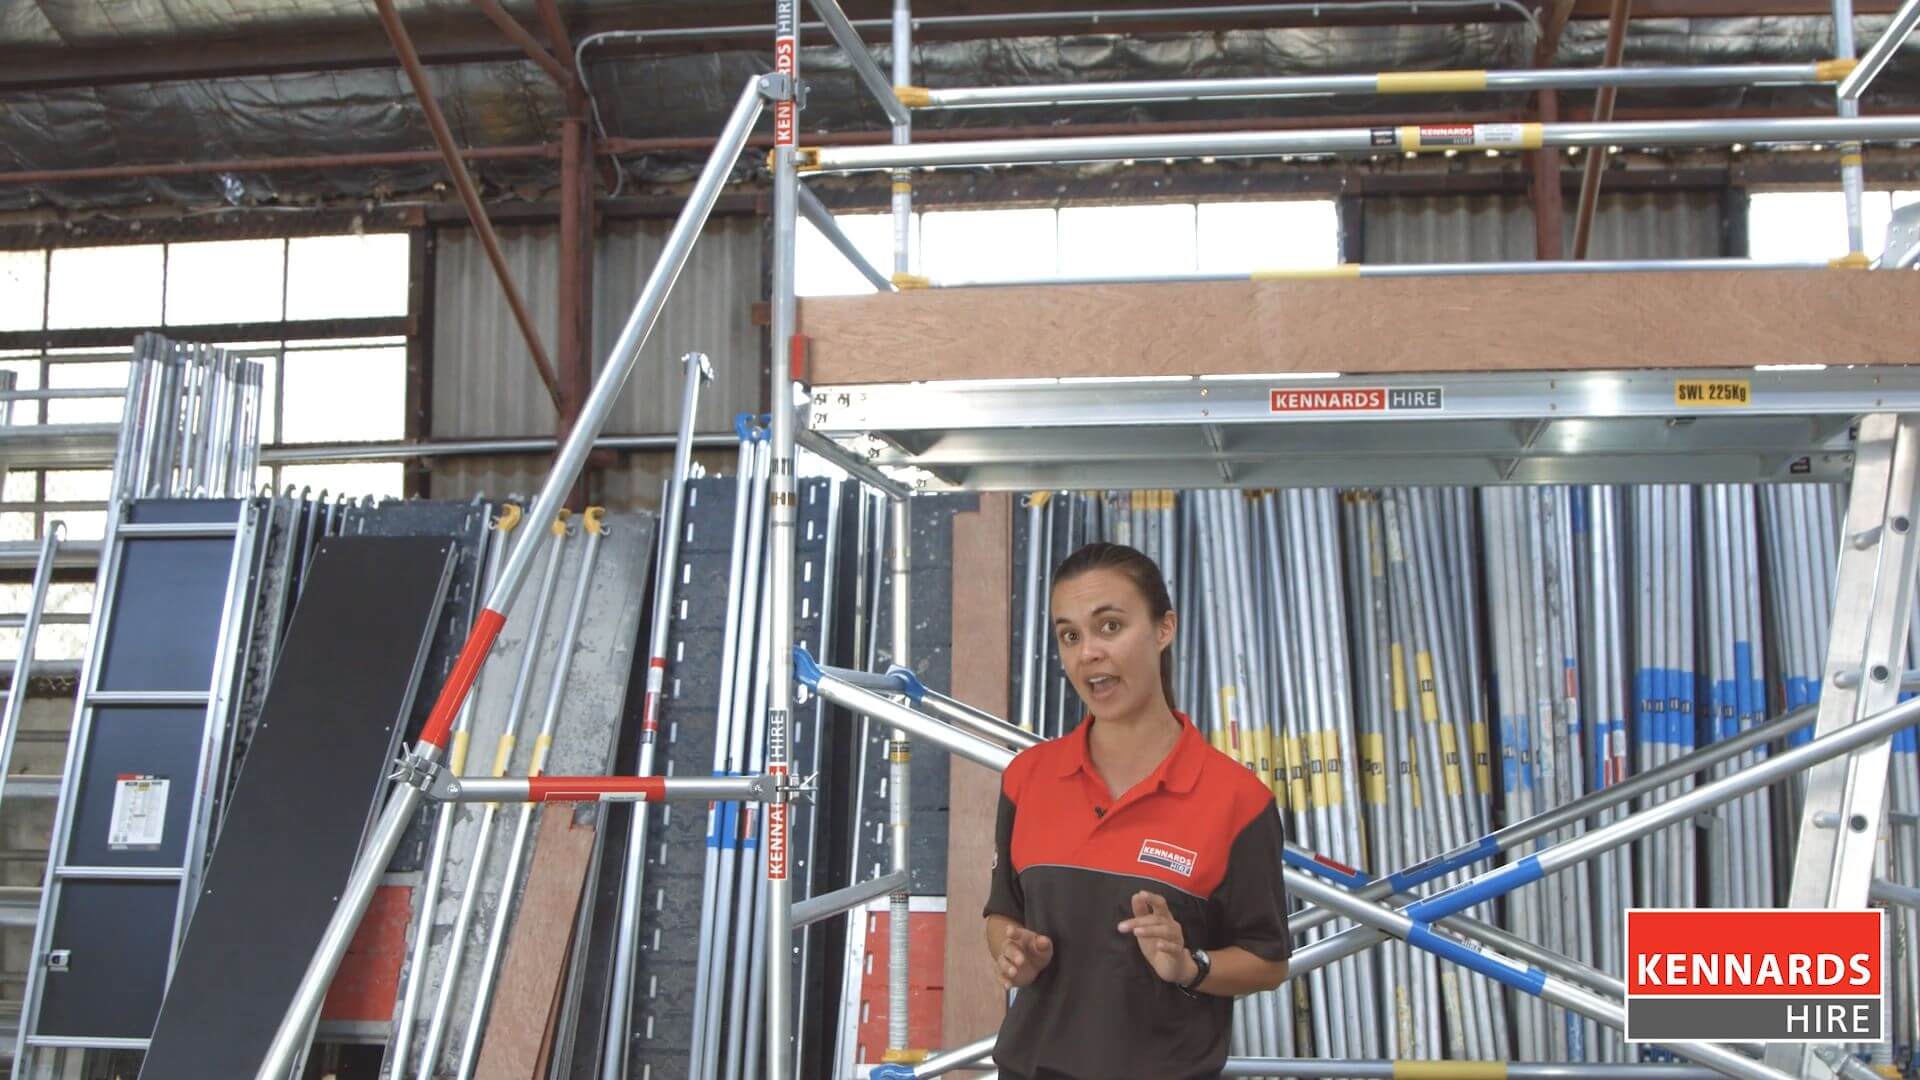
Step 9 - Dismantling scaffold
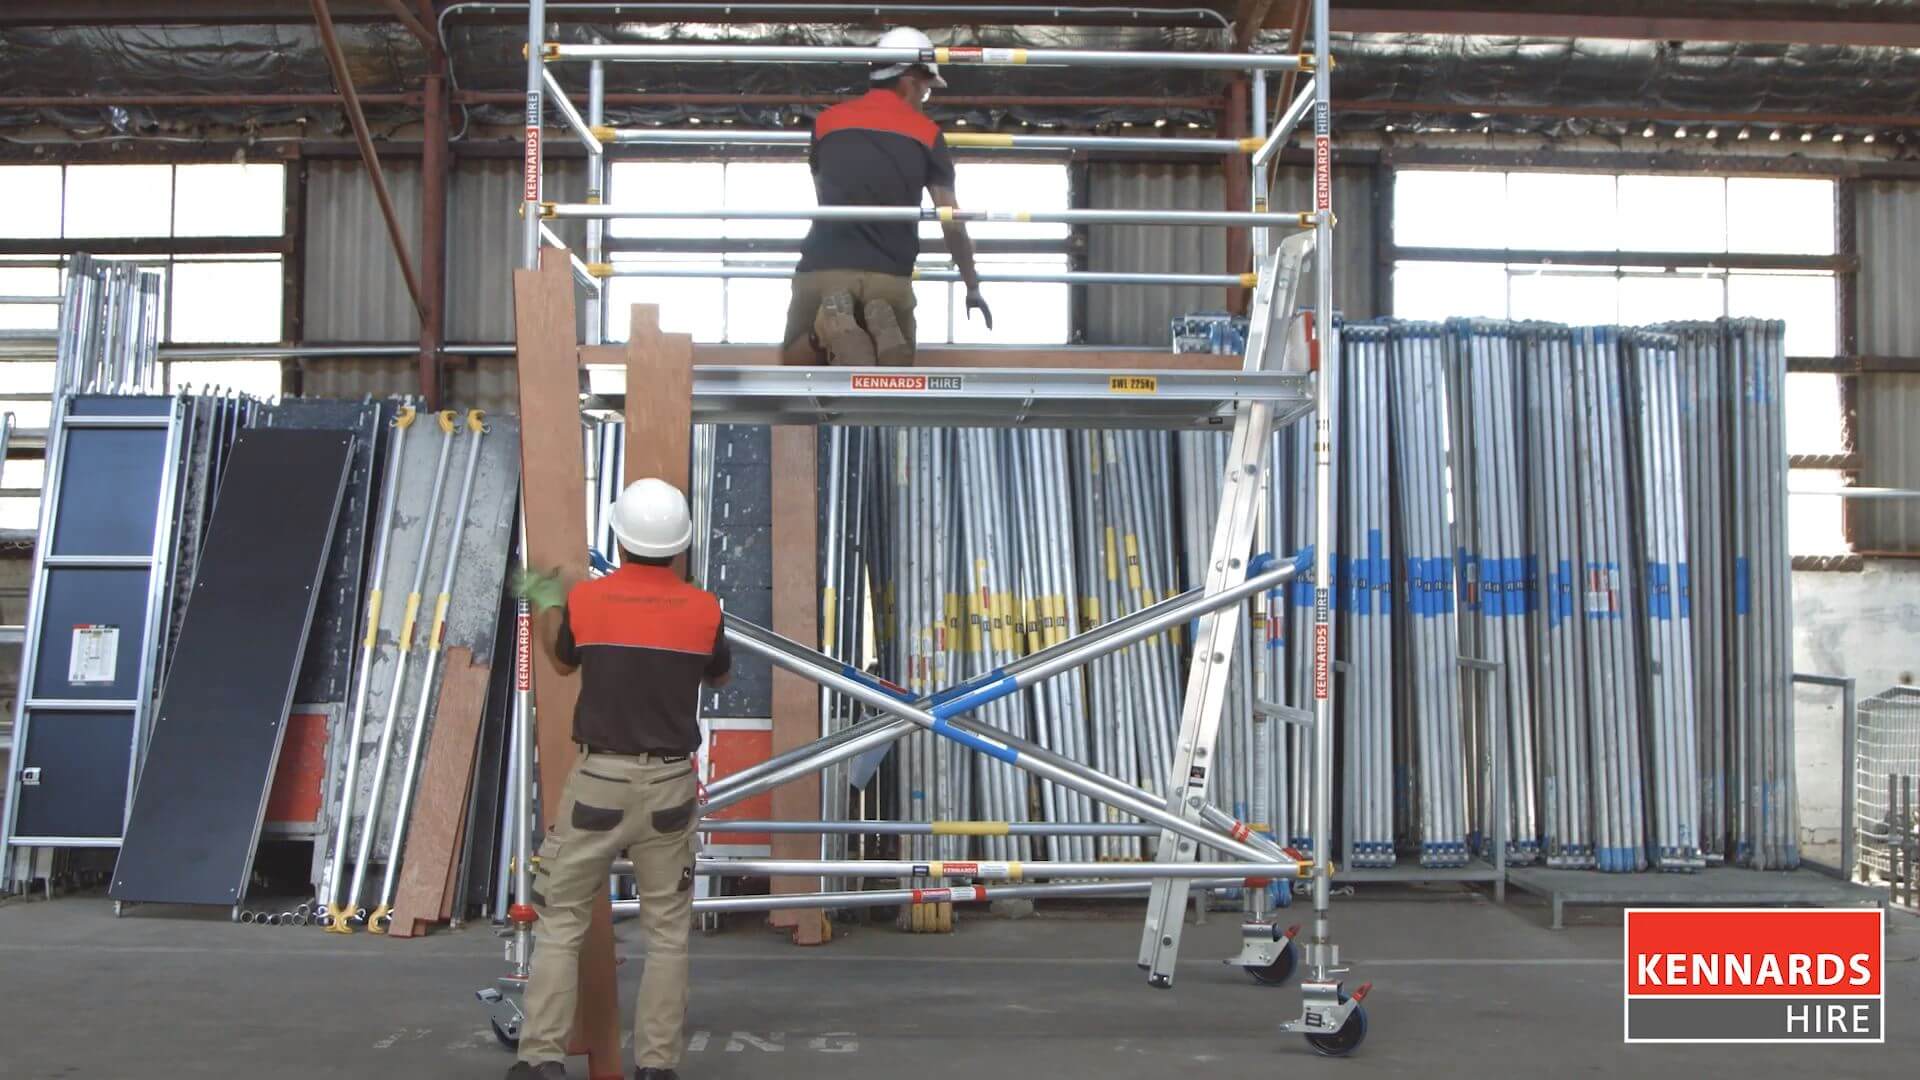
To take down the scaffold, reverse the order of assembly starting from the top. This is where it’s very handy to have an assistant on hand.
Never drop the decks or braces to the ground, always lower them carefully.
Stack all the elements neatly where you can access them for return back to your Kennards Hire branch.
