How to Sand Your Timber Floors in Preparation for Staining or Painting
How-To
Beautiful hardwood floors are an asset to any home, and with the right tools and advice, you can do the job yourself.
Whether you’ve found a wooden goldmine under the old carpet and want to restore it to its former glory, or you’ve just laid new floorboards, we’ll show you how to sand your timber floor in preparation for sealing.
Equipment you'll need
- Face mask
- Protective goggles
- Noise reducing ear muffs
- Hammer
- Nail punch
- Paint scraper
- Drum sander
- Sander edger
- Orbital floor sander
- Sandpaper for machines: 40 grit, 80 grit or 120 grit. Talk to the team at your local branch for advice on which grits to use.
- Vacuum cleaner to remove dust
If you have any questions about our equipment or need advice on the best equipment to use, the team at your local Kennards Hire branch should be able to help you.
For more information get in touch with your local branch today.
Steps
Step 1 - Preparing the floor surface
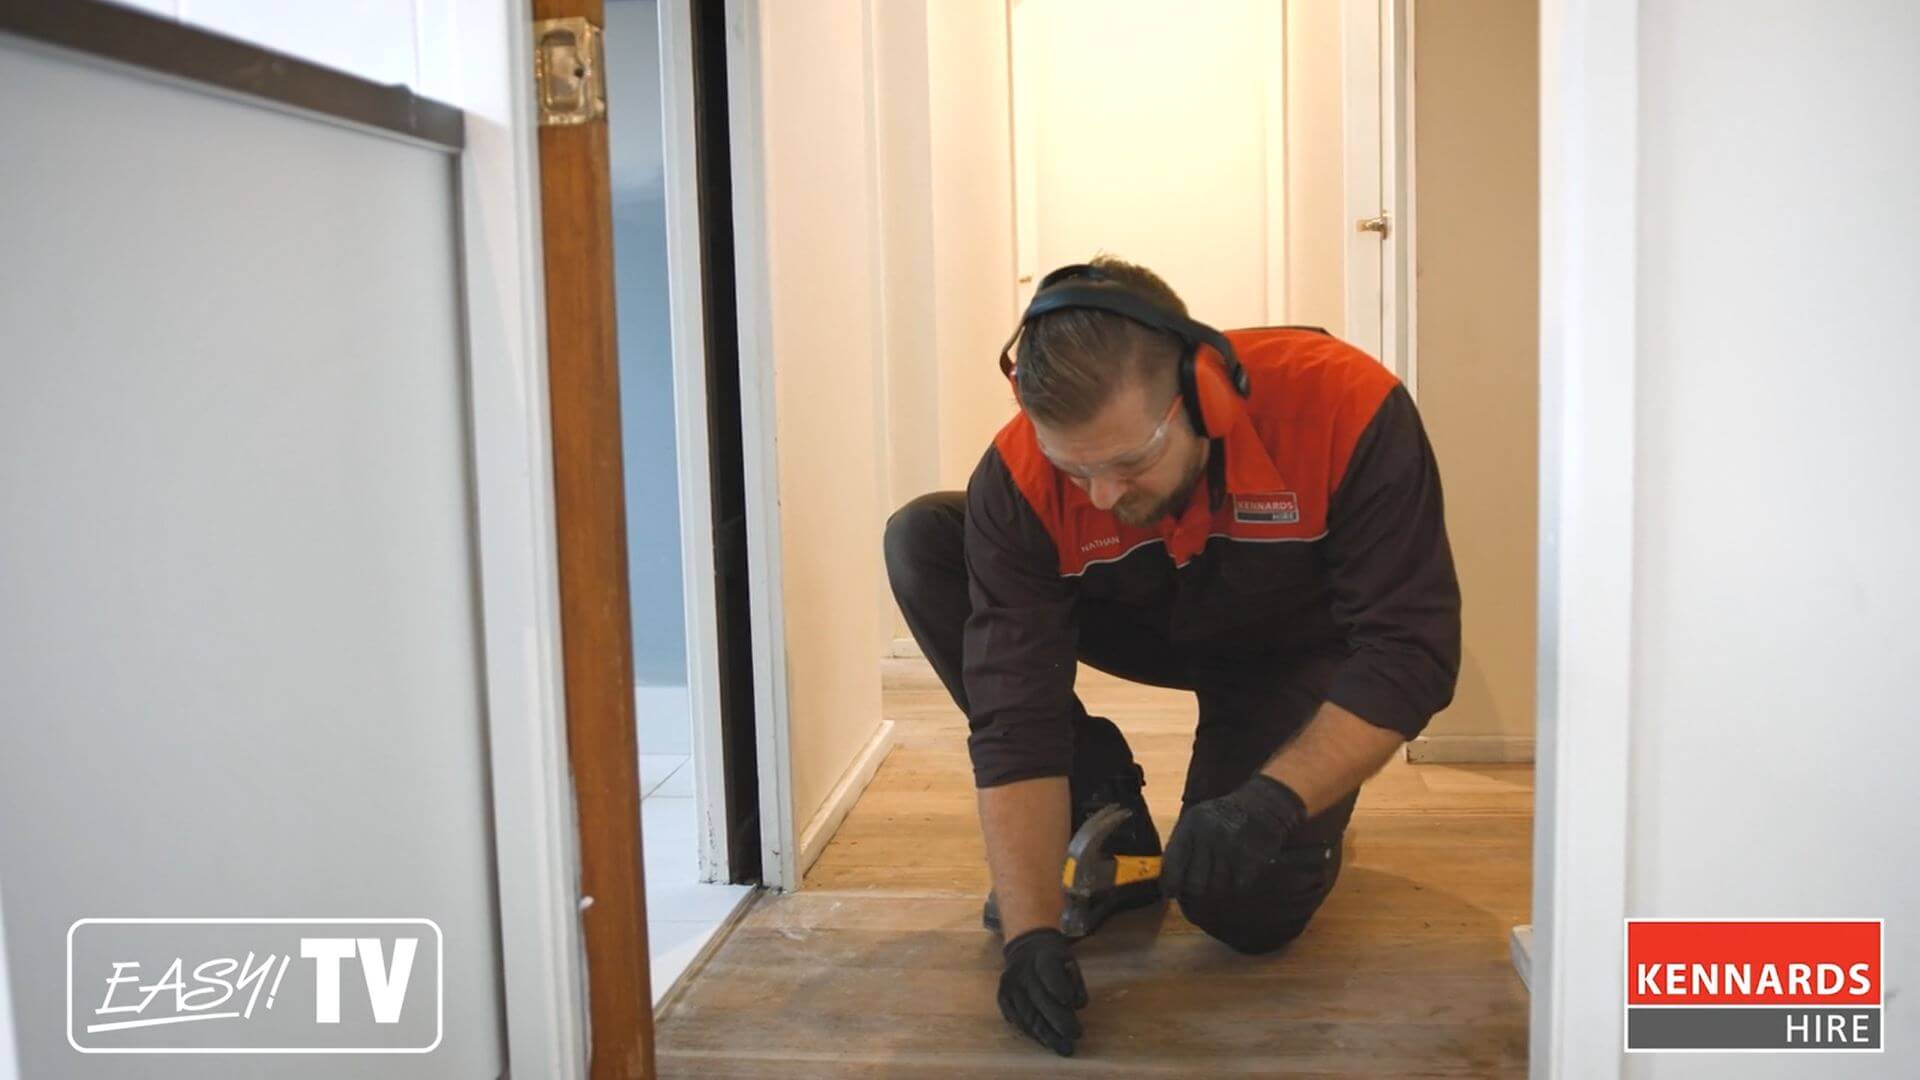
Remove any old nails or bits of carpet or laminate that may be left around door frames and skirting boards. For a new floor, use the paint scraper to remove any excess glue from when the boards were laid.
If you can’t remove nails, use a nail punch to punch them in about 3mm below the surface of the wood.
Step 2 - Using the drum sander
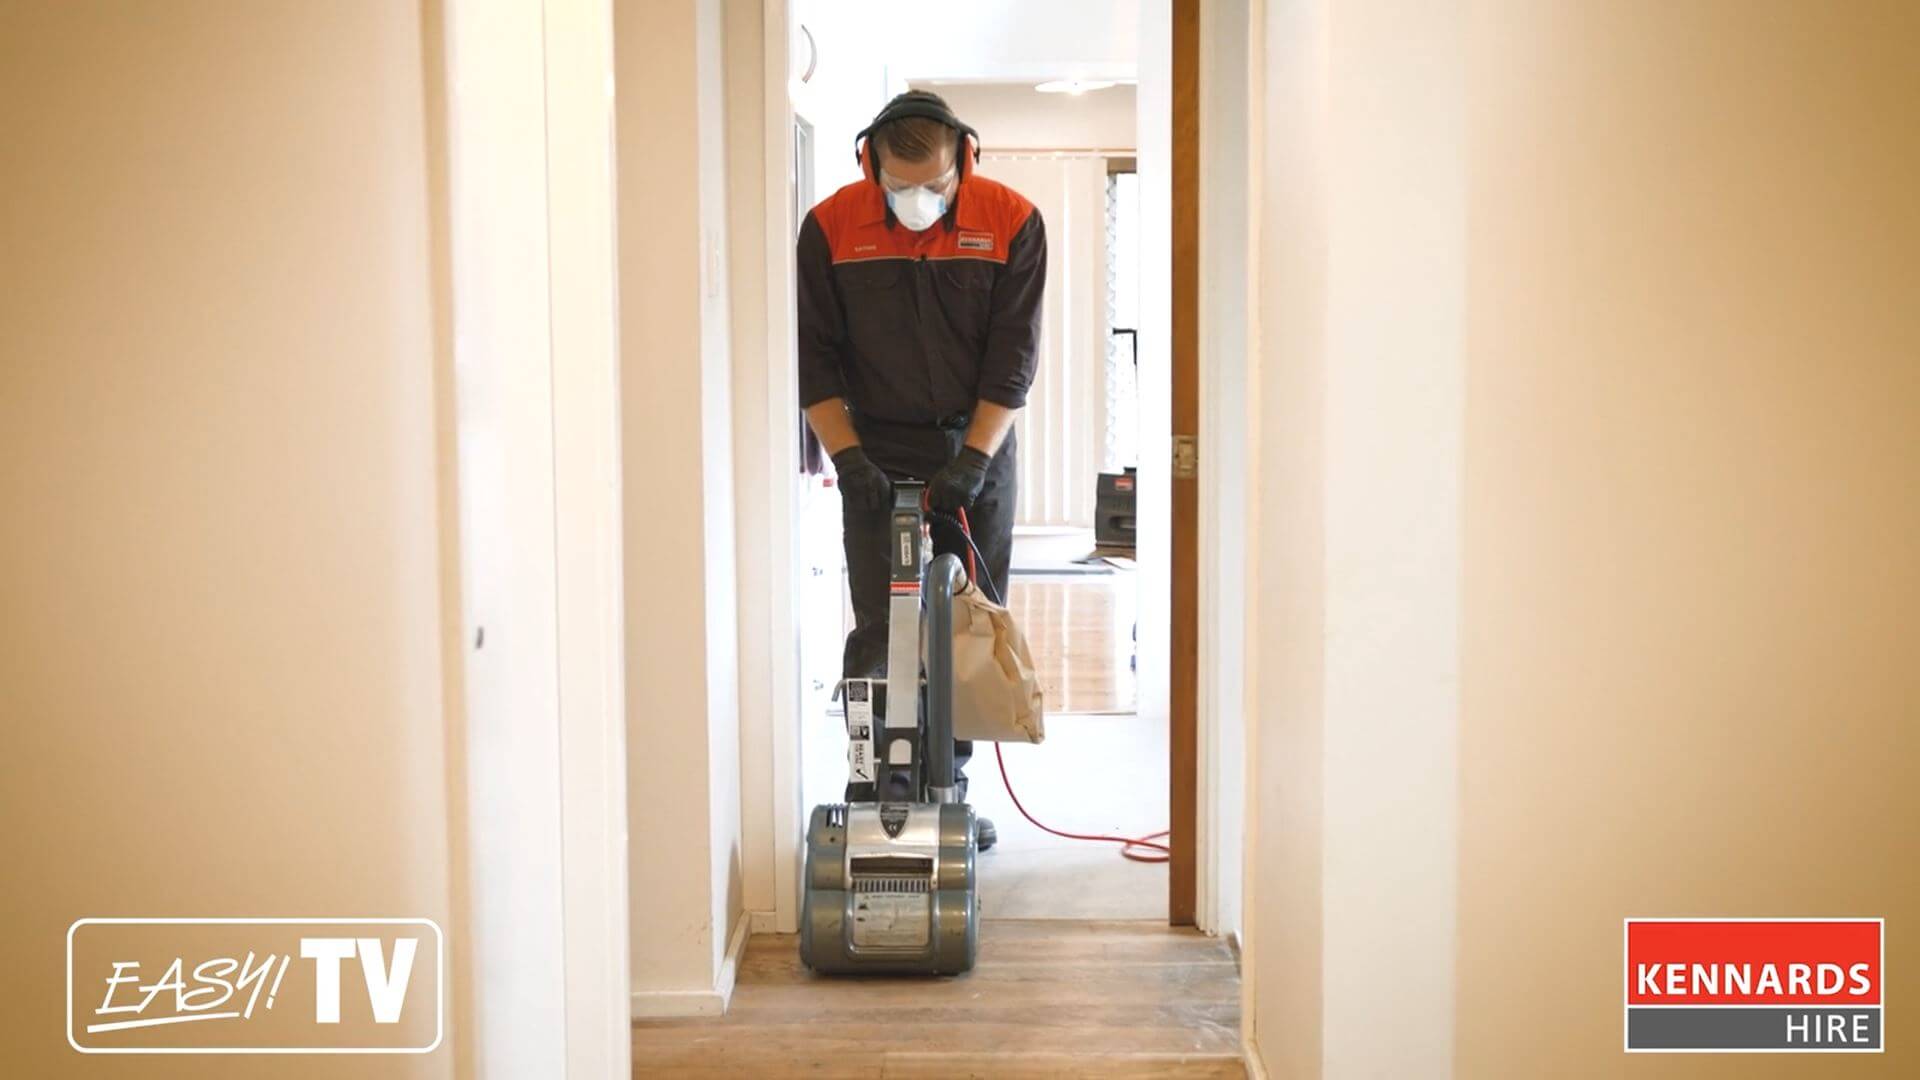
If any of the boards are warped or cupped, the first run with the sander should be at a 45-degree angle to take off the high edges of the boards. When it comes to sandpaper, the higher the grit number, the smoother the sandpaper. If the floor is old and has warping and lots of bumps, chances are you will start with the 40 grit sandpaper, which is the roughest and most aggressive. However, for new floors, you want to start with a finer grit such as 80 grit, and work from there.
Attach the sandpaper to the drum sander, then attach the dust collection bag – you want to trap that dust, not spread it around the house!
Put the mask over your nose and mouth, then the goggles and ear muffs.
Before you start the sanding machine, tilt it back so that the sanding drum isn’t touching the floor. You should also tilt the machine back when you are moving the sander from one area to the next. This avoids the drum contacting the floor and leaving unwanted marks.
Turn the sander on and lower the drum to the floor.
Guide it in a straight line and walk at a slow pace. You don’t need to press the sander down; its weight ensures sufficient contact with the floorboards.
When you reach the end of the space, tilt the sander drum off the floor. Then walk backwards sanding over the same floor you just did.
When you reach your original starting position, tilt the sander and move it to the side so that it overlaps about 5mm with the first sanded stretch. Repeat the process until the area is done.
Step 3 - Using the sander edger
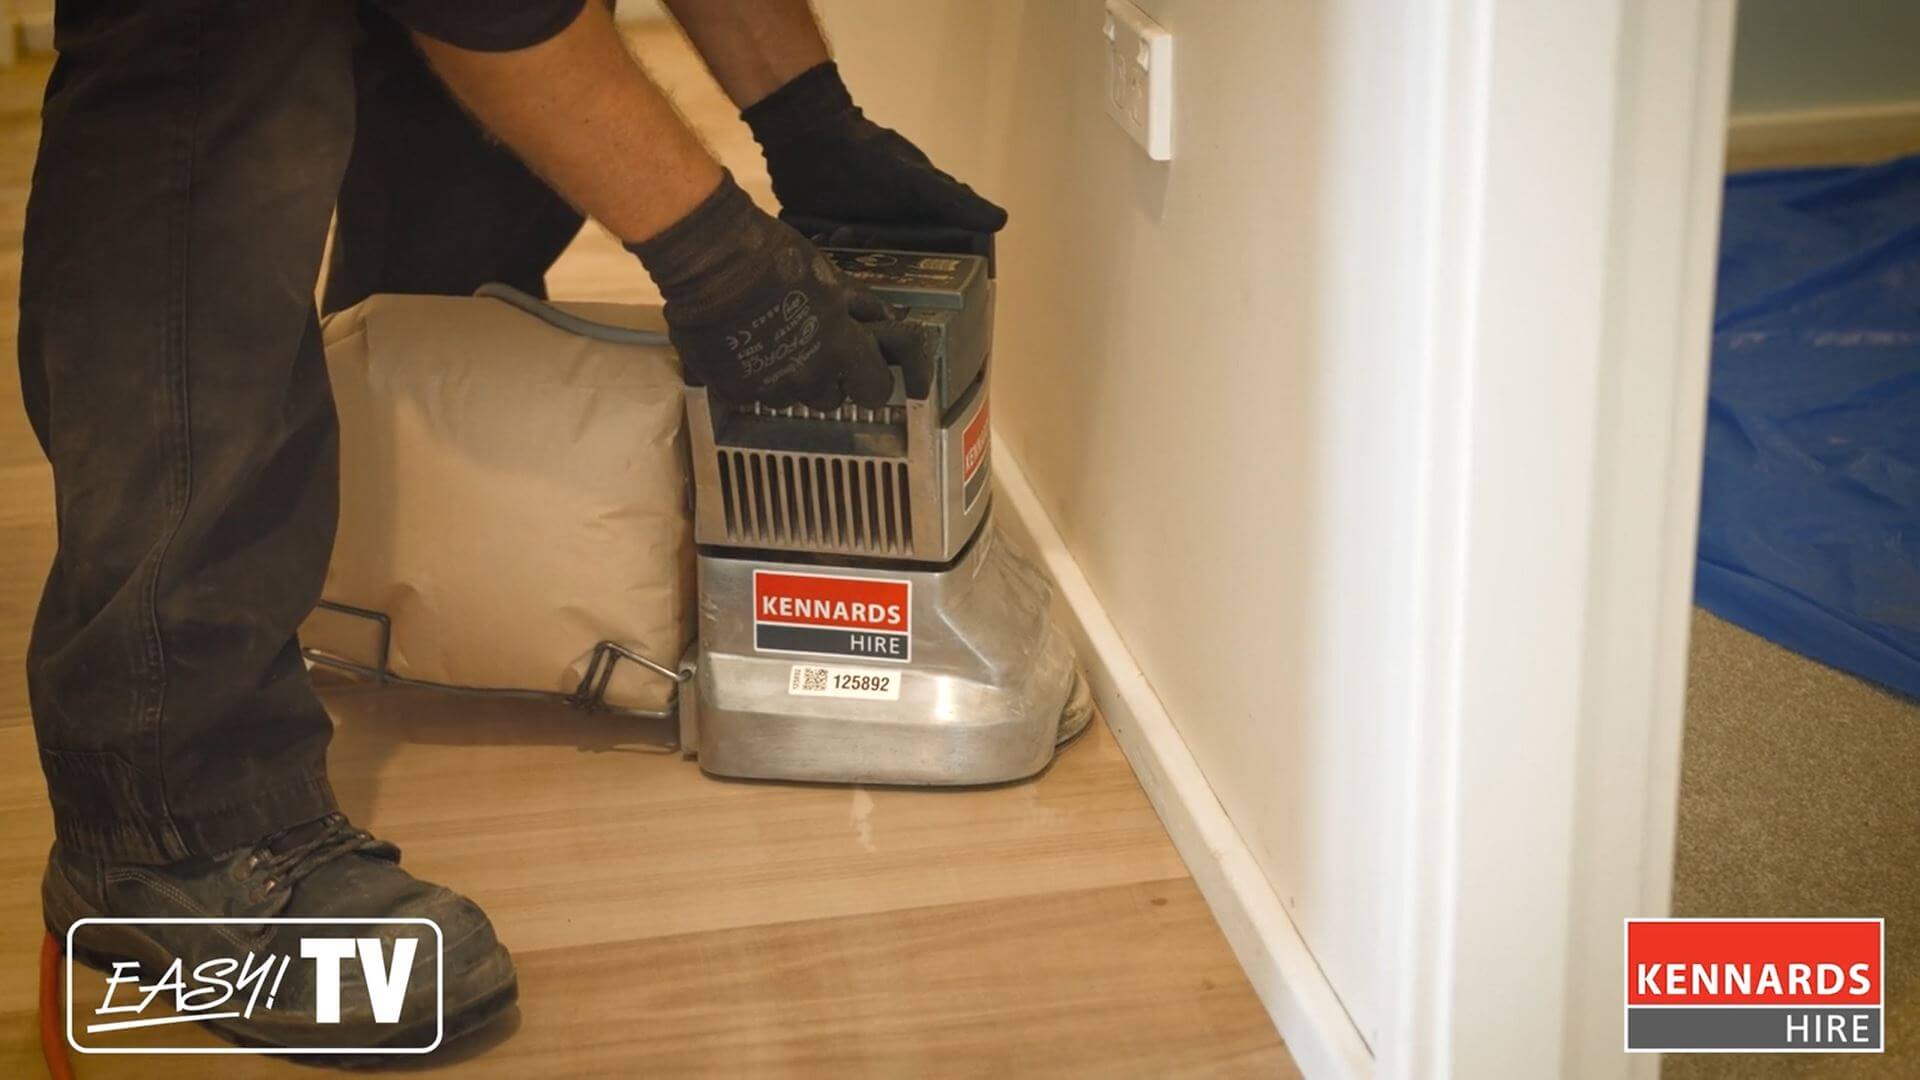
Next, prepare the edger sander. The edger sander lets you get right up to the skirting board or walls. Make sure you use the same grit sandpaper that you used with the drum sander. Go along the edges of the space making sure the sander gets right up to the wall or skirting board.
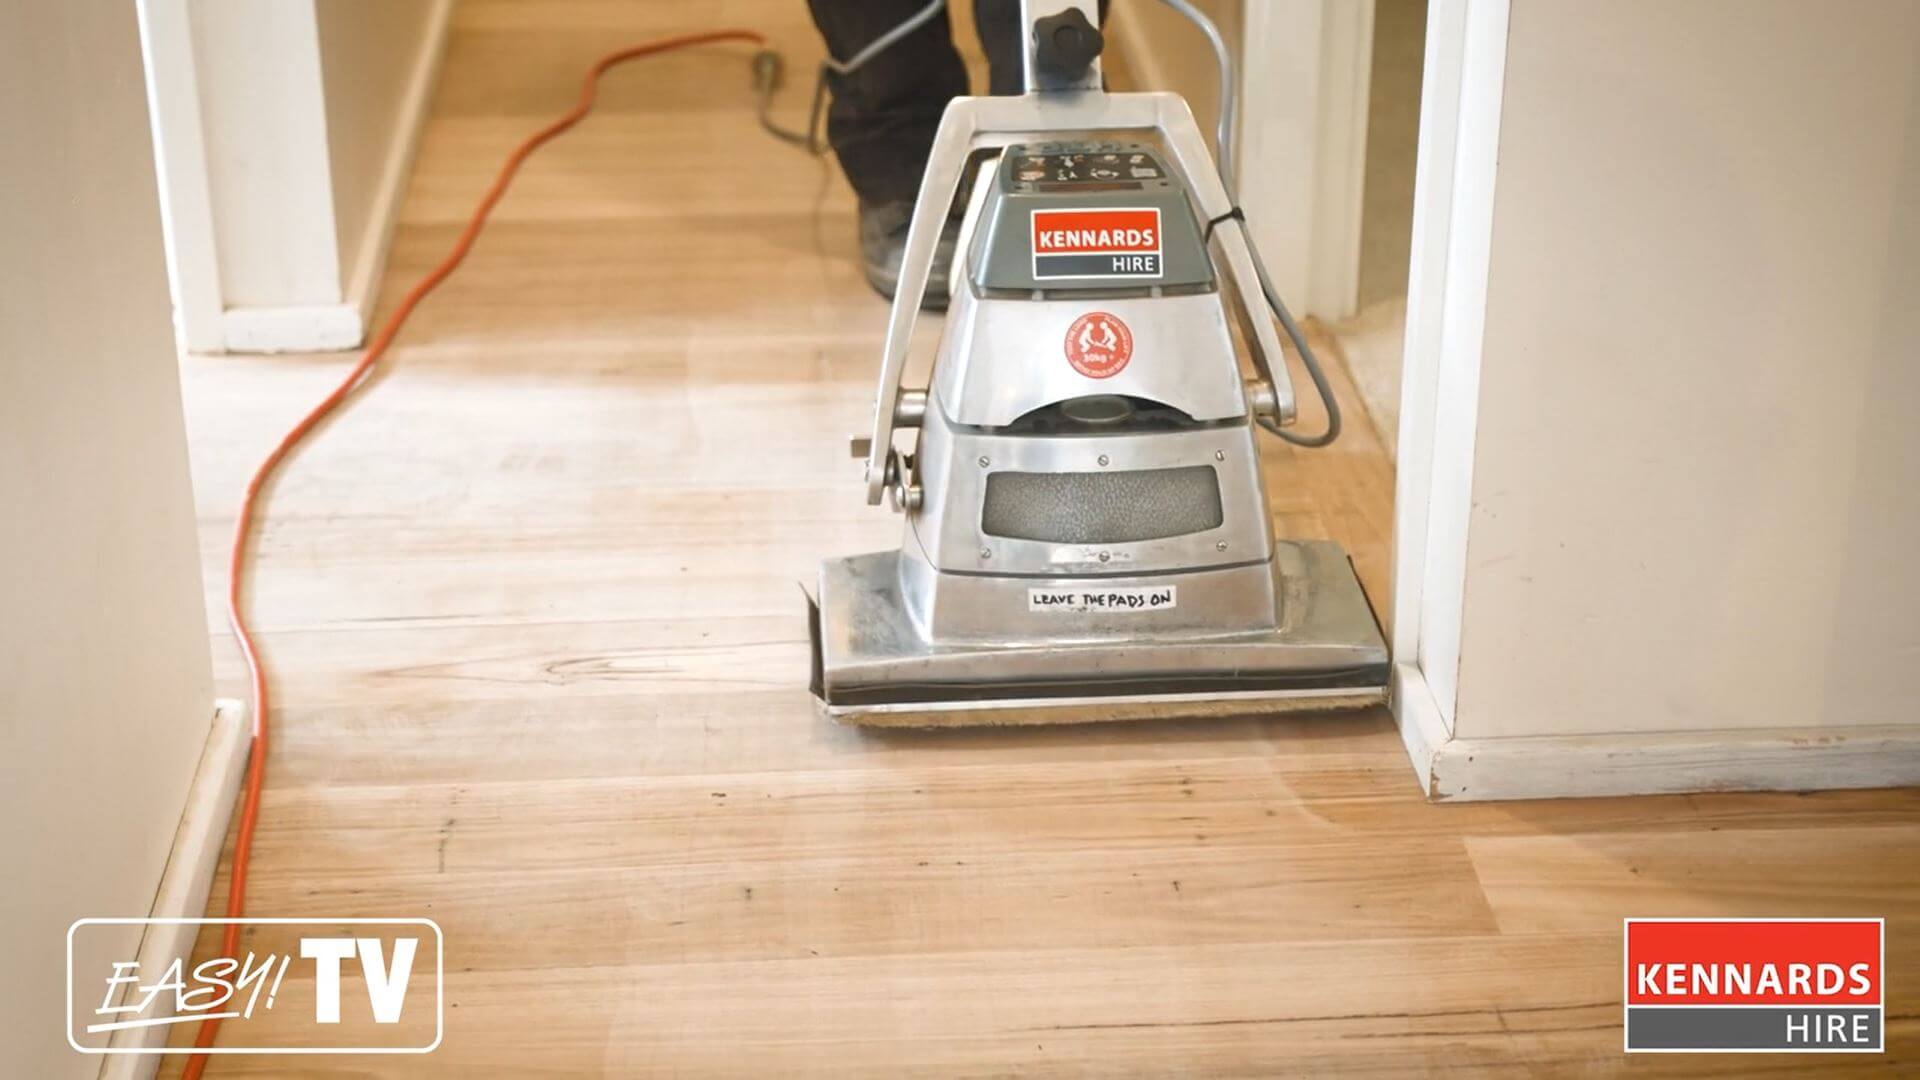
Step 4 - Using the orbital floor sander
The orbital sander is the final stage of sanding. But before running the orbital sander, vacuum the floorboards to remove dust. The orbital floor sander removes any marks or irregular patterns the previous two sanders may have introduced into the floorboards.
Make sure the handle is locked upright, as this helps you tilt the machine back for moving. Once you are in position, release the handle so that it can ride up and down.
Apply the fine sandpaper – 120 grit – to the orbital sander and fit its dust collection bag.
Use the same sanding method as the drum sander, following straight, overlapping lines up and down the space.
Step 5 - Tip for hard to reach places
You may find the machines cannot reach into tight corners. In this case, wrap some sandpaper round a small sanding block and do these small areas manually, starting with the rough sandpaper and finishing with the smooth.
If you have any further questions, head to the Get Inspired website for more guides to DIY jobs around the home.
